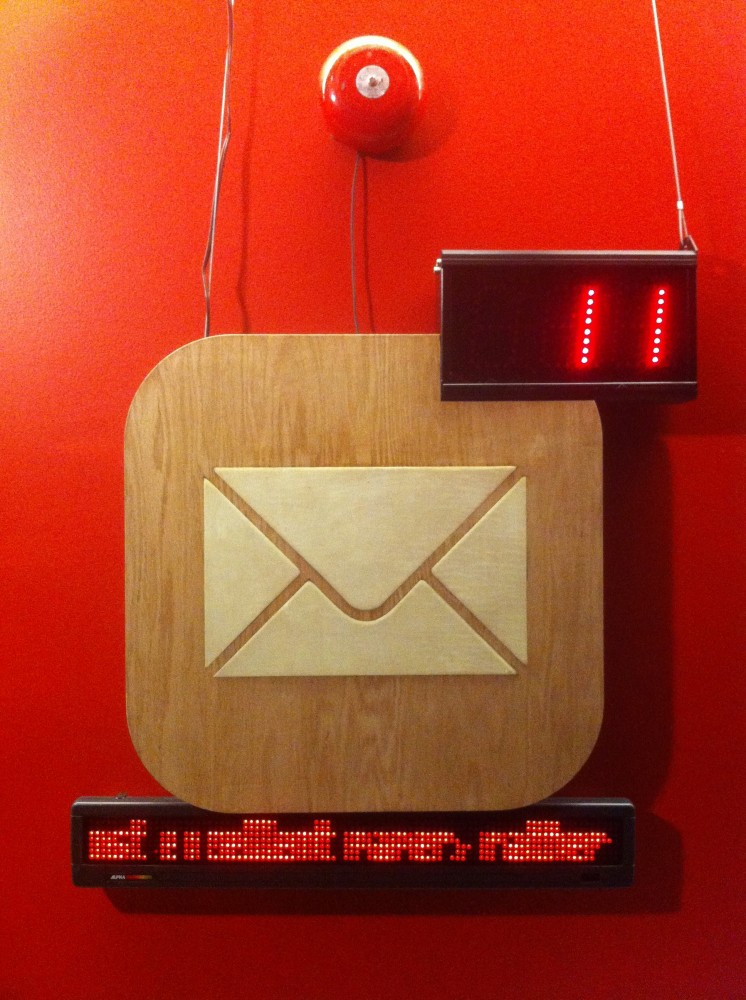
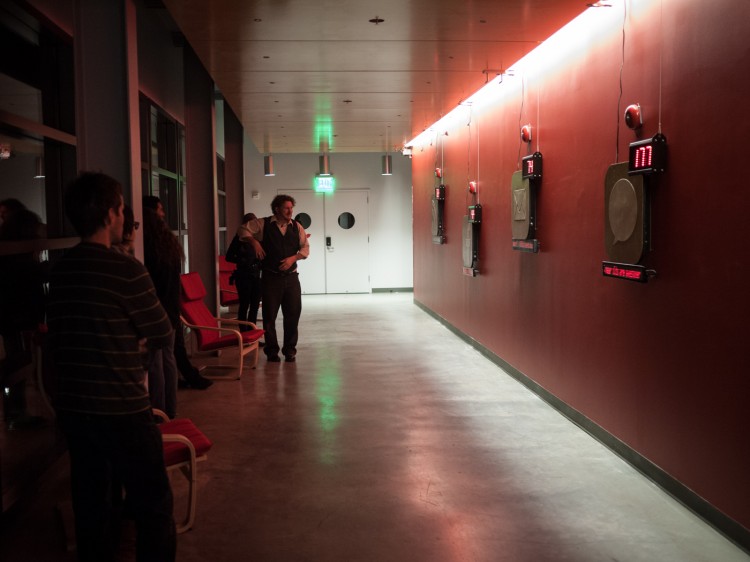
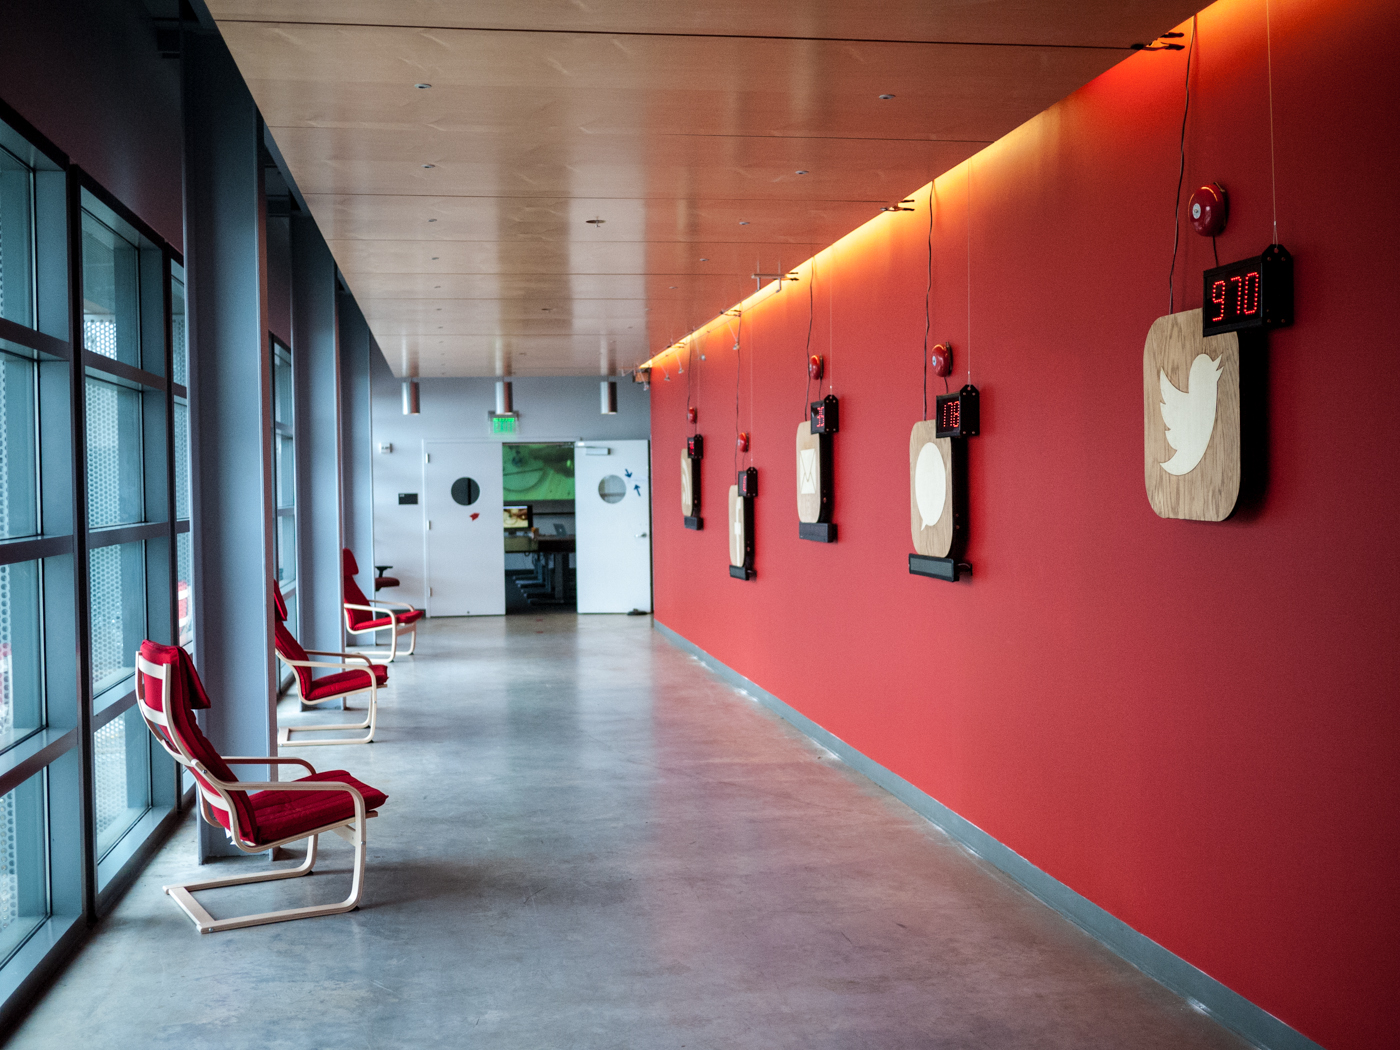
FOMOphobia, an installation at the Digital Art Research Center at UC Santa Cruz as part of the Digital Arts and New Media Fall Open Studios, attempted to embody the social media burden of the artist. Incoming messages, notifications, and tweets are signalled with loudly ringing bells, flashing red numbers, and an alphanumeric LED display of the content.
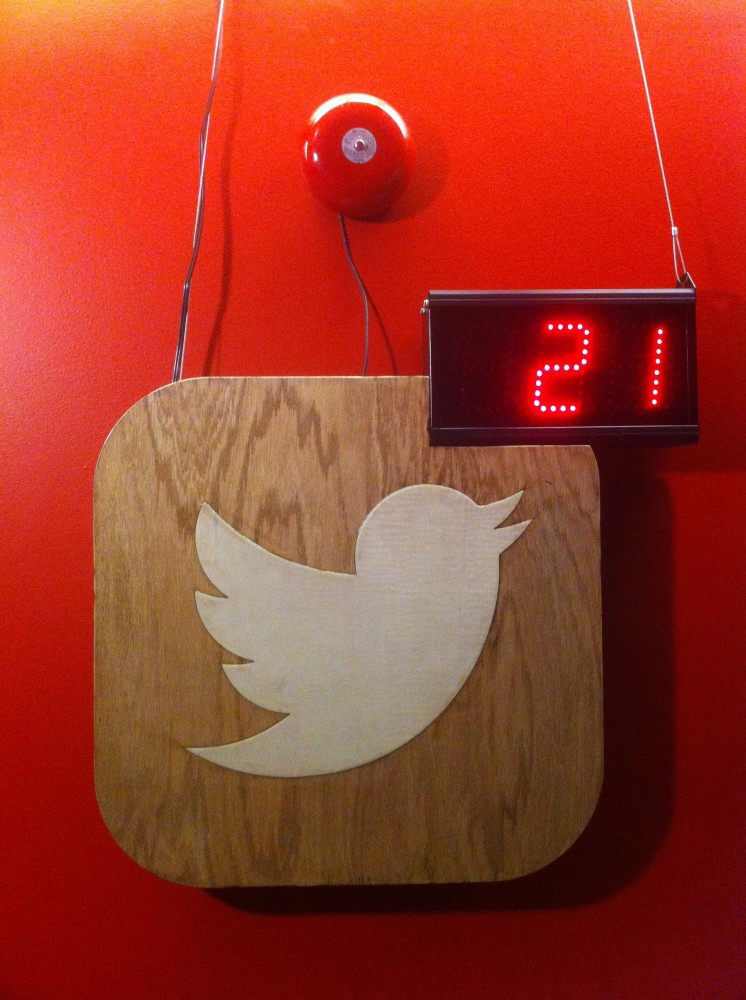
At the DANM Open Studios there were five individual pieces representing Twitter, Facebook, email, sms/voicemail, and rss feeds (blog reader). Each piece consisted of a two-by-two foot wooden medallion of white mahogany inlaid into golden oak replicating in large-scale the familiar iPhone icons, a large red LED numeric display showing the number of unread messages inset into the upper right corner (also calling to mind the badge notifications on an iPhone), a red alphanumeric display along the bottom displaying incoming messages, and a red alarm bell hung above the piece.
As each message arrived, the corresponding piece would ring for several seconds, the number of unread messages would be updated, and the message, sms, email, or tweet would be displayed. The installation made a curiously attractive and inviting exhibit, punctuated by jarringly disruptive moments as batches of messages arrived.
The installation proved to be surprisingly interactive as well. It was not unusual to find a crowd either waiting and watching for new messages or eyes-down to their smartphones texting, emailing, or tweeting the author in an attempt to see their messages appear. A few times, viewers let out a little squeal of surprise when a loud alarm bell went off.
From Concept to Realization
For the Fall Open Studios exhibition, I created FOMOphobia, an internet-connected sculpture that immerses the viewer in a visualization of the artist’s real-time social networking anxiety, sounding alarms and keeping count of unhandled content.
The project was originally conceived as a response to an article I had seen on Hackaday, a large numeric display indicating how many unanswered emails you had. Clearly, this is supposed to be utilitarian, a clever way to see whether you need to drop everything and check your email. To me this looked like my social networking guilt made manifest. I wanted to take this absurd concept to the next level.
What if we make the order to drop everything and get cracking on your social networking more explicit? I wanted a klaxon of some sort, a more visible counter, one of these for each of my many forms of modern communication. Together, they would create an audio-visual manifestation of modern communication angst, an insistent cacophony of social networking.
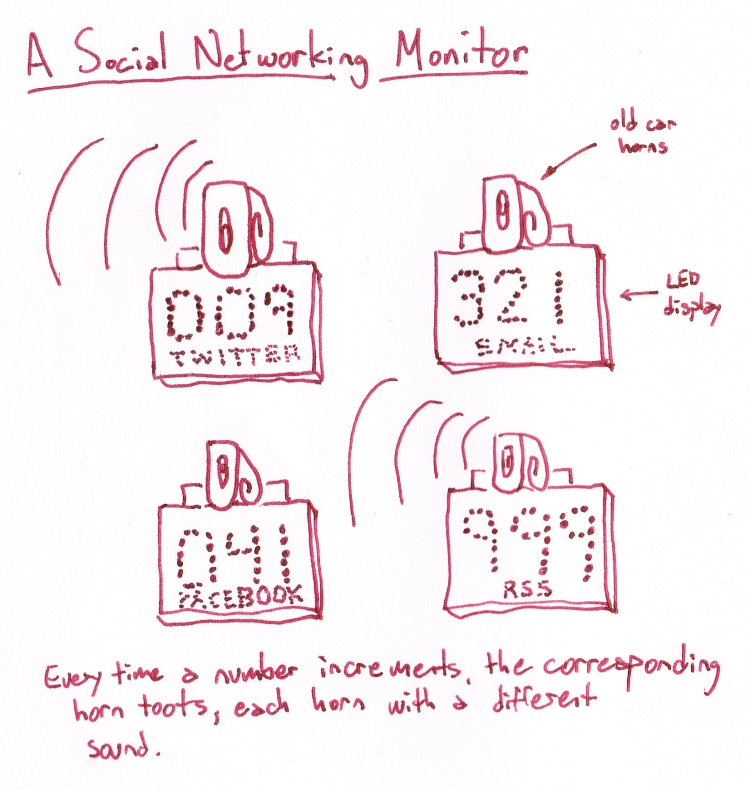
I did a lot early work on the aesthetics of the piece, finally settling on a sorts of marriage of iDevice and IKEA-esque. Light wood with pleasant rounded corners.
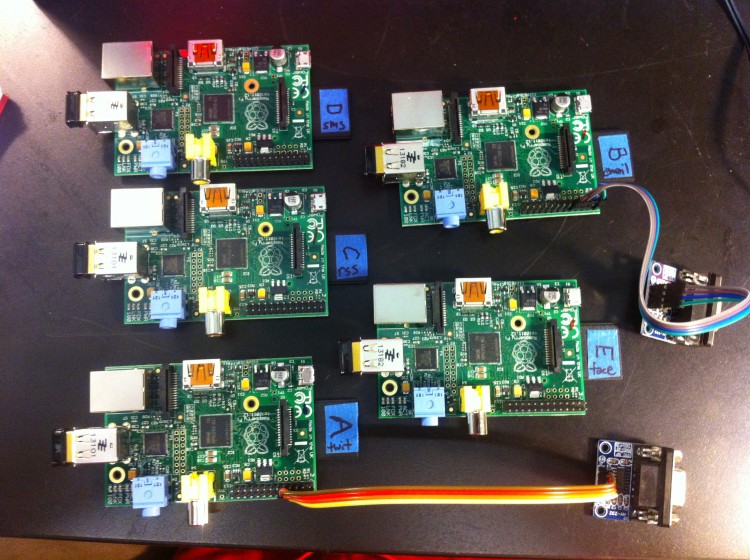
I knew I wanted Raspis as the brains of my project, so I ordered five Pis from MCM Electronics along with power supplies and SD cards already loaded with NOOBS.
Raspberry Pi and WiFi
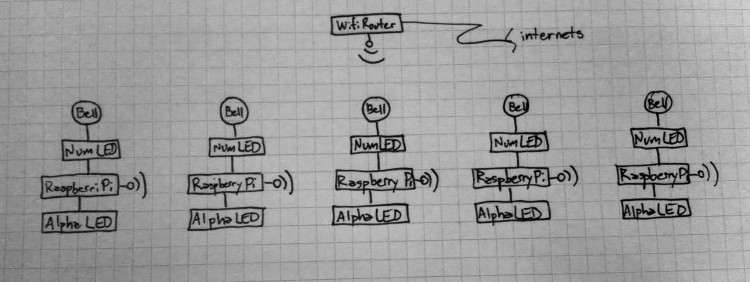
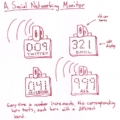
My goal was to create a wireless network that looked something like this:
I didn’t want a bunch of cables snaking to each sculpture, so I used WiFI to talk to a central wireless router that I plugged into an ethernet drop, forming my own little closed wireless network.
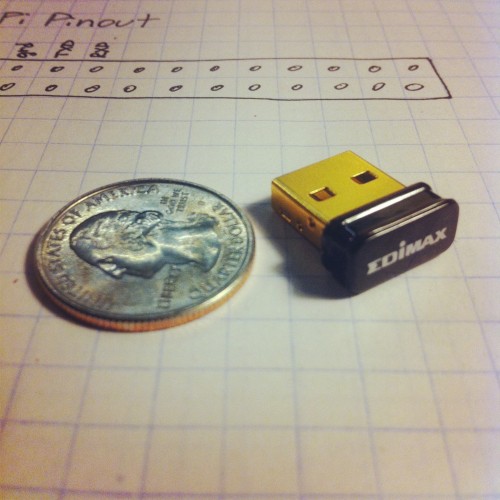
Earlier, I had shopped around for a mini USB WiFi adaptor, checking the Raspberry Pi compatibility pages to ensure that the chipset was easily compatible with wheezy-raspbian, the Pi’s flavor of Debian. I found the Edimax EW-7811Un wifi adapter based on the Realtek RTL8188CUS chipset reputed to be compatible with RPi. It was a tiny little thing.
I also had been warned that I needed a 1 amp or greater power supply for the RPi since the WiFi sucked up the juice. Many people had gotten very weird and inconsistent results with underpowered power supplies.
I plugged the little WiFi adapter in and watched /var/log/messages. I could tell that the system recognized it and attempted to auto configure it. Lots and lots of log messages, attempted, failed, succeeded this and that. I don’t speak the dialect of either the USB or WiFi subsystem, so it was greek to me.
Right away, though, I could scan the wireless networks from the command line and see the two wifi networks we have on campus.
There was a bit more Linux magic required to authenticate to the network, but the WiFi adapter worked great right out of the gate.
Serial Through the GPIO Pins
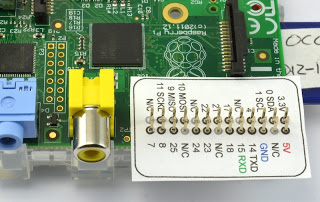
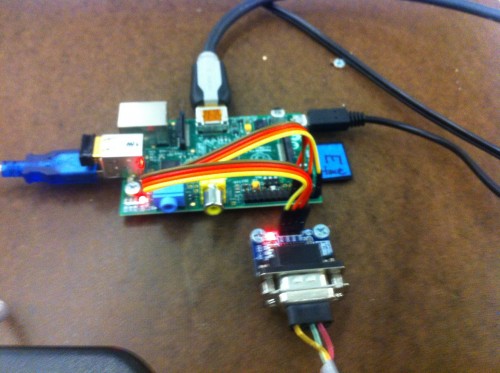
The numeric and alphanumeric LED displays attached to the RPis are serial. I need the RPi to talk RS232 serial so I can have it control the displays. The Pi does serial through its GPIO pins. The pins on the RPi provide for UART serial, RXD, TXD, and GND.
There are some issues around the serial voltages. The RPi serial out uses something closer to CMOS voltages — 3.3v to represent HI and 0v to represent LO — while almost every other old skool device uses TTL voltage for RS232 serial — anywhere from 3v to 15v to represent HI and 0v to -15v to represent LO. The crazy voltages allow RS232 serial to be less susceptible to interference. But it also means that a RS232 HI coming into the RPi could break its little 3.3v heart. I used a breakout board and an Arduino to try to figure out all this voltage stuff.
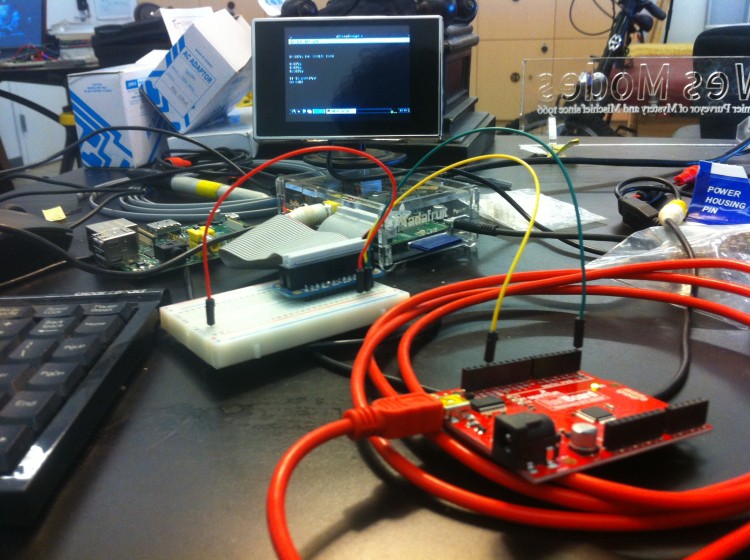
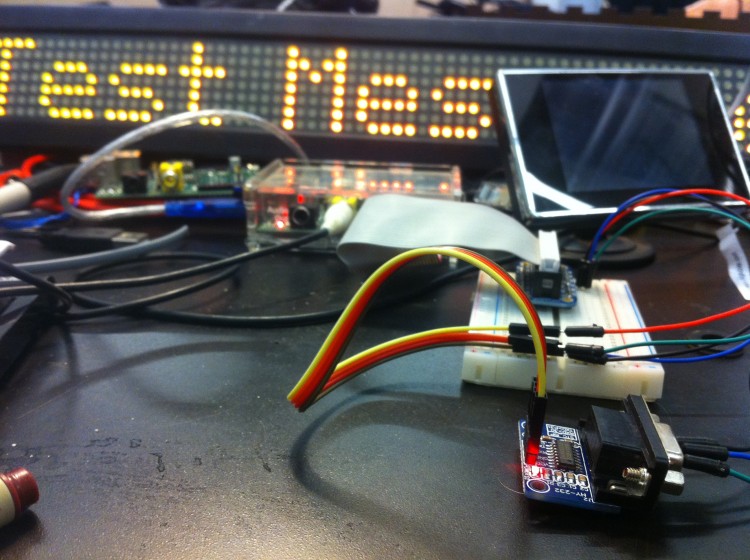
Thanks to this little critter, a SMAKN MAX232CSE Transfer Chip RS232 To TTL Converter Module COM Serial Board, the Raspberry Pi was able to talk to the my serial alphanumeric LED display for the first time. Huzzah!
It attaches to the 5v, ground, and 3.3v serial GPIO pins on the RPi, with a DB9 plug out, producing a nice 5v serial connection that my serial display needed.
Serial Through the RPi’s USB Port
I also needed to talk to another serial device. However, the Pi only has one UART serial port. Therefore, I needed to convert one of the USB ports into an RS232 port. I used Plugable’s USB to RS-232 DB9 Serial Adapter with the Prolific PL2303HX Rev D Chipset. With a little help from the display manufacturer’s tech support, I was able to talk to the displays for the first time. Very exciting.
A Small Army of Raspberry Pis
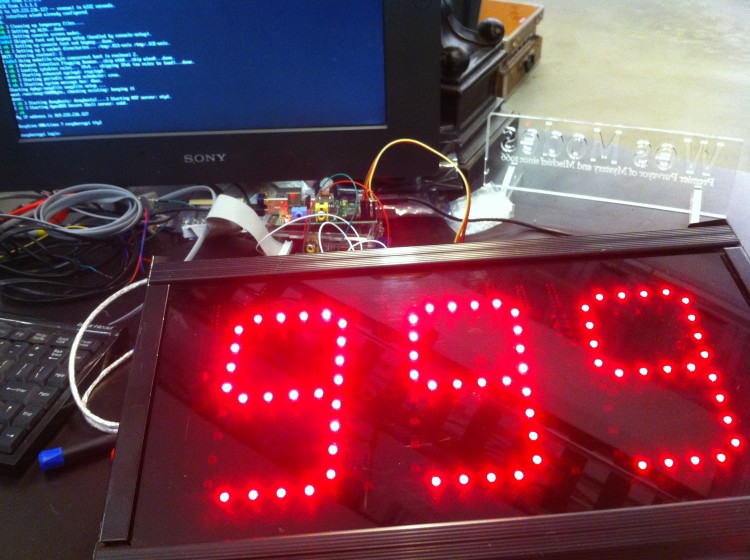
At this point, I had none of the installation put together, but I did have a small army of Raspberry Pi’s ready to rumble. Programming, done. They even have a self-test mode that reports the status of all of its subsystems. I even took care of little details like logrotation (if that got you excited, you know you are a sysadmin).
I can plug each one in and it magically boots and becomes a monitor for whatever social network it is watching. Thanks to MCM Electronics for the generous donation of the Raspberry Pis. They were a joy to deal with and I can recommend them heartily.
Putting the Installation Together
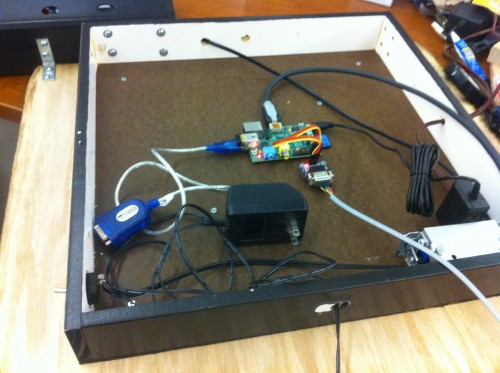
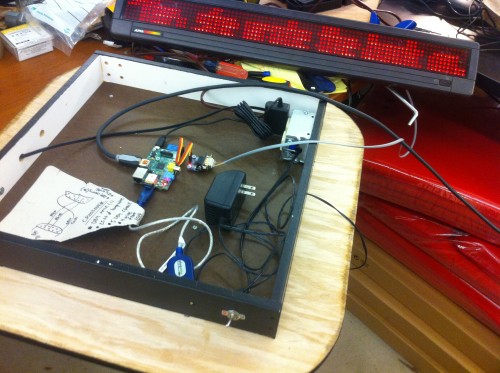
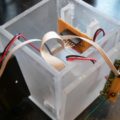
Finally, I could start putting stuff into the actual boxes that people will see. I mounted the electrical, the Raspberry Pi, and the serial connectors in each box.
I start plugging in connectors and cables and adding power supplies.
Then because I wanted to see if they still worked after the transition from workbench prototype to working piece, I tested it out. It turned on. It booted. Good so far.
It worked. Woot.
A Successful Exhibition
There were several times when I was standing near the sculpture talking to viewers about the piece when an alarm would loudly interrupt our conversation. In these moments, everyone stopped to read the incoming message as it was displayed. Trying to resume our conversations became increasingly challenging.
A few times when I went to observe the piece, there were a half dozen or more people standing in front of it, all looking down at their smartphones. At one point one person looked up and self-consciously laughed, “Everyone is on their phones, talking to the art.”
A feeling of excitement tittered through the crowd every time an alarm sounded. I question whether I have created the feeling of repulsion I originally sought or whether I have merely replicated the emotional draw of social media, a feeling of curious attraction with some jarring tradeoffs.
Scroll right to see entire installation =>



Great job documenting the build process. Cool to see the inner workings and design process.
Thanks! It was so fun to make!
Hey,
I realize I am a year late on commenting on this project but I was wondering if you could help me out with a similar project I am working on.
Thanks,
Trent